How Does the Export Process Work in India? Step-by-Step from Order to Payment
Satyajit Srichandan
9 min read
Between "I want to buy your product" and "money is in your bank account" there are about 15 steps that need to happen in the right order, with the right documents, involving the right people. Most first-time Indian exporters feel overwhelmed because nobody shows them the full picture in one place. This article does exactly that — the complete export process from first inquiry to FIRC, in plain language.
Before You Begin: Two Things You Must Have Ready
1. IEC — Import Export Code
Your export licence. A 10-digit code issued by DGFT (Directorate General of Foreign Trade). Without an IEC code, you legally cannot export from India.
Apply online at dgft.gov.in
Documents needed: PAN card, bank account details, address proof
Fee: ₹500 | Time: 2–3 working days
One-time registration — no renewal, valid for lifetime
You need GST registration for your business. At the start of every financial year, file a LUT (Letter of Undertaking) on the GST portal — this lets you export without paying GST upfront and claim refunds later.
Once both are done, you're ready to export.
Step 1 — Receive an Inquiry from a Foreign Buyer
A foreign buyer sees your product on Alibaba, IndiaMART Global, or at a trade fair and sends a message: "I'm interested in your handloom bed sheets. Can you send me your catalogue, price list, and minimum order quantity?" — this is a Trade Inquiry.
What you do:
Respond within 24 hours, professionally
Send product catalogue, specifications, and price list
State your MOQ (Minimum Order Quantity)
Ask for the buyer's location and required quantity — needed to calculate shipping costs
Your first reply sets the tone. Use clear English. Attach a proper catalogue — not a WhatsApp screenshot.
Step 2 — Send a Proforma Invoice (PI)
If the buyer is interested, they'll ask for a Proforma Invoice (PI) — your formal quotation. It is NOT a final invoice. It shows:
Your company name, address, IEC number, GST number
Buyer's name and address
Product description, quantity, unit price, total value
Payment terms (e.g., 30% advance, 70% against Bill of Lading)
The buyer may counter-offer on price, payment terms, or packaging. This is normal. Key things you negotiate:
Price — export price per unit
Payment terms — advance percentage, when balance is paid
Incoterms — who pays freight and insurance (FOB, CIF, EXW, etc.)
Delivery timeline — days from order confirmation to shipment
Packaging — export-grade requirements
Quality standards — certifications or testing required
Don't agree to terms that squeeze your margins. It's better to lose an order than to ship at a loss.
Step 4 — Receive Purchase Order and Confirm
Once negotiations are done, the buyer sends a formal Purchase Order (PO) — their official document saying "I want to buy this." It includes product name, quantity, agreed price, delivery date, payment terms, and any special requirements.
You then send a Purchase Order Confirmation (POC) — acknowledging you accept the order on the stated terms. This exchange creates a binding commercial agreement.
Step 5 — Arrange Payment (Advance or LC)
Before production begins, secure payment — or at least part of it.
30% advance: Buyer transfers 30% to your bank. Once received, production begins.
Letter of Credit (LC): Buyer's bank opens an LC in your favour. Your bank verifies it. Once confirmed, production begins.
Never start production for a large order without receiving advance payment or a verified LC. This is how exporters get burned.
Step 6 — Production, Sourcing, and Quality Check
Produce or procure goods as per the buyer's specifications:
Manufacture to agreed specifications
Source raw materials if not in stock
Quality control during production
Pre-shipment inspection — for some buyers, a third-party inspector (SGS, Bureau Veritas, Intertek) visits your factory and issues an Inspection Certificate
Export packaging must be sturdy for long-distance transit, properly labelled (buyer's name, destination, gross/net weight, country of origin), and compliant with destination country regulations.
Step 7 — Hire a CHA (Customs House Agent)
Unless you're experienced, hire a CHA — also called a Clearing and Forwarding Agent (C&F Agent). A licensed CHA:
CHA charges typically run ₹3,000–₹15,000 per shipment. For a beginner, a good CHA is worth every rupee. Find one through other exporters in your industry or your nearest Export Promotion Council.
Sea Freight FCL — you fill an entire 20ft or 40ft container
Sea Freight LCL — your goods share a container with other exporters; good for smaller quantities
Air Freight — faster (2–7 days) but significantly more expensive
Courier (DHL / FedEx / UPS) — for samples and small parcels only
Once booked, you receive a Shipping Bill Number and a container number (sea) or AWB number (air).
Step 9 — Prepare Export Documentation
Your core document set:
Commercial Invoice — final billing document for the buyer with product details, value, payment terms, Incoterms, and bank details
Packing List — detailed list of every carton — contents, dimensions, gross and net weight
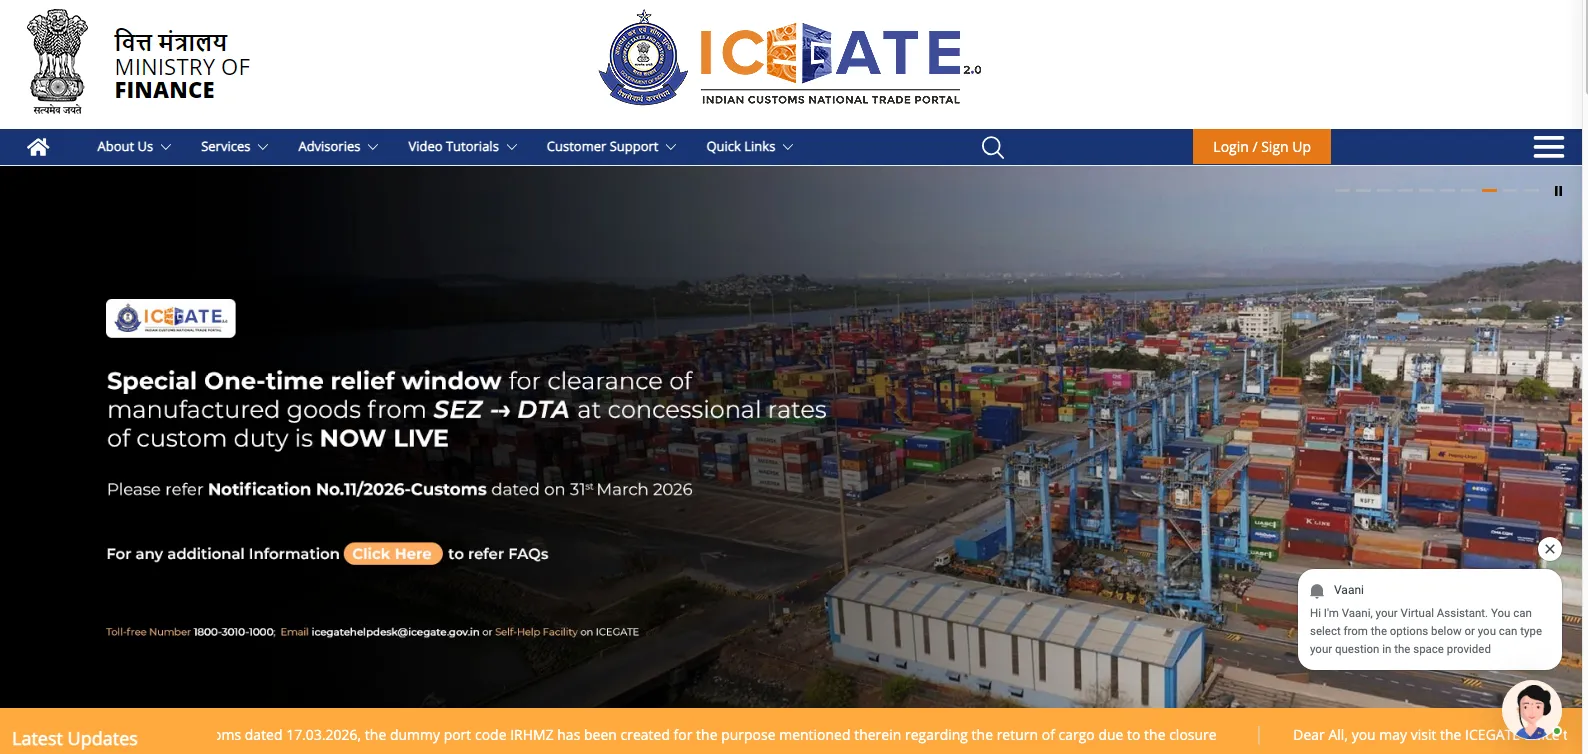
Shipping Bill — filed electronically through ICEGATE by your CHA
ICEGATE (icegate.gov.in) — the Indian Customs electronic gateway where your CHA files the Shipping Bill and all export customs documentation; your formal request to Customs to allow export. Requires the product's HS code and indicates whether you're claiming Duty Drawback or RoDTEP
Certificate of Origin — certifies goods are made in India; issued by Export Promotion Councils or Chambers of Commerce. Required to avail lower import duties under trade agreements (India-UAE CEPA, India-ASEAN FTA, etc.) in the buyer's country
Bill of Lading (sea) — issued by the shipping line after loading; the title document to the goods. Whoever holds the original BL can claim the goods at destination
Airway Bill (air) — air equivalent of the Bill of Lading, issued by the airline
Other documents as applicable: Phytosanitary Certificate (agriculture), Health / FSSAI Certificate (food), Test Reports (chemicals, electronics), Insurance Certificate (CIF shipments)
Step 10 — Customs Examination and Let Export Order (LEO)
Your CHA submits the Shipping Bill electronically. Indian Customs reviews it and either:
Grants LEO (Let Export Order) directly — most common for trusted exporters. Goods can be loaded immediately.
Calls for examination — a Customs officer physically inspects the goods before allowing export
Once LEO is granted, the goods are officially cleared for export. This is a critical milestone — Customs has approved your shipment.
Step 11 — Goods Loaded on Vessel or Aircraft
Your goods are physically loaded. The shipping line issues the Bill of Lading (or airline issues AWB) confirming on-board status. The BL/AWB mentions shipper, consignee, port of loading, port of discharge, description of goods, vessel name, and date of shipment.
Step 12 — Send Documents to Buyer
After shipment, prepare a Document Set and send it to the buyer or their bank:
Original Commercial Invoice (3 copies)
Original Packing List
Original Bill of Lading (3 originals)
Certificate of Origin
Insurance Certificate (if applicable)
Inspection Certificate (if applicable)
Any other documents specified in the LC or PO
Originals are sent by DHL/FedEx courier. Scanned copies are emailed first for the buyer's advance information.
If payment is via Letter of Credit, documents are submitted to your bank. Your bank verifies them against the LC terms and forwards to the buyer's bank. Payment is released only after verification.
Step 13 — Buyer Receives Goods and Releases Payment
The goods arrive at the destination port. The buyer uses the original Bill of Lading to clear customs, inspects the goods, and releases the balance payment if everything is as agreed.
Payment arrives in your bank account in foreign currency (USD / EUR / GBP). Your bank converts to INR at the prevailing rate and credits your current account.
Step 14 — File for Export Incentives
After shipment, claim your government benefits:
GST Refund — file on the GST portal for input tax credit on goods/services used in production. Usually processed within 30–60 days.
Duty Drawback — refund of customs duties on imported inputs, filed through ICEGATE as a percentage of FOB value.
RoDTEP — covers embedded taxes not captured by Duty Drawback; credits issued as transferable e-scrips usable against import duties.
Advance Authorisation — if you imported raw materials duty-free under this scheme for this order, close it by submitting export proof to DGFT.
Step 15 — Bank Realisation and FIRC
After receiving payment, your bank issues a FIRC (Foreign Inward Remittance Certificate) — official proof that you received foreign currency for your export.
Keep all FIRCs safely — they are your documentary proof of export payment received.
The Complete Export Process — Summary
Step
Action
Who Does It
1
Receive inquiry
Buyer contacts you
2
Send Proforma Invoice
You
3
Negotiate terms
You + Buyer
4
Receive Purchase Order, confirm
Buyer sends, you confirm
5
Arrange advance payment or LC
Buyer's bank + Your bank
6
Production + Quality check
You + Inspector
7
Hire CHA
You
8
Book freight
Freight Forwarder / CHA
9
Prepare all documents
You + CHA
10
Customs clearance + LEO
CHA + Indian Customs
11
Goods loaded on vessel
Shipping Line / Airline
12
Send documents to buyer
You + Bank
13
Buyer receives goods, releases payment
Buyer + Banks
14
Claim export incentives
You + CA
15
Receive FIRC from bank
Your bank
How Long Does One Export Cycle Take?
A rough real-world timeline:
Inquiry to order confirmation: 1–4 weeks
Production and packing: 2–8 weeks (depends on product)
Sea freight to Europe or USA: 3–6 weeks
Air freight: 3–7 days
Payment realisation after shipment: 7–30 days (depends on terms)
Total from inquiry to payment: 6 weeks to 4 months for a typical sea freight order. This is why export working capital management is critical — you need funds to produce before you fully receive payment.
Final Thoughts
The export process looks complicated when you see it all at once. But break it down step by step and it's a logical sequence — each step flows naturally into the next.
Your first export shipment will feel challenging. Your second will feel easier. By your fifth, it'll feel routine. The key is to not do everything alone — build your team: a reliable CHA, a good freight forwarder, a CA familiar with export taxation, and a bank relationship manager who understands forex.
Ready to go deeper? Read our guide on what exporting is if you're just starting out, or jump straight to getting your IEC code — the first mandatory step before your first shipment.
Exporter and global trade professional sharing practical knowledge about international trade, export documentation, logistics, and market opportunities.