When I first tried to understand the export process in India, I kept finding pieces — customs explained on one site, documents on another, payments somewhere else entirely. Nobody had put it together in one place, in the right order, in a way that actually made sense.
This article is that full picture.
What you’ll get here is the complete export process in India from start to finish — how to export from India step by step, explained in plain language. This is a process overview, not a deep dive into each step. Think of it as a map before you start the journey.
You can read our detailed guide on: “What is Export? Simple Explanation for Complete Beginners 2026“
The Export Process: Complete Step-by-Step Overview
Before going into detail, here’s the full export process from India in one place:
- Decide what to export and which market to target
- Complete your export registrations in India
- Find a foreign buyer
- Agree on price, payment method, and delivery terms
- Receive the Purchase Order
- Prepare your goods and export documents required in India
- Book freight and clear customs for export
- Track your shipment in transit
- Goods reach the buyer and payment is released
- Complete post-shipment compliance
Each of these steps is covered below. By the end, you’ll know exactly what happens at each stage and why.
Step 1: Decide What to Export and Which Market to Target
Everything starts here. Before registrations, before finding buyers, before anything — you need to know what product you’re selling and which country you’re targeting.
Product selection is not just about what you have access to. It’s about what that country actually buys, at what price, and whether your product meets their standards and regulations.
Every product traded internationally has an HS Code — a standardised number used by customs departments worldwide to classify goods. Your HS Code determines the duties, regulations, and restrictions that apply to your product in the destination country. You’ll need it for almost every export document.
You can read our detailed guide on: “Which Product Should You Export from India?”
Step 2: Complete Your Export Registrations in India
Before you can legally export from India, a few registrations need to be in place. You don’t need all of them on day one, but you do need most of them before your first shipment.
IEC Code — Importer Exporter Code, issued by the DGFT. This is the most basic requirement. Without it, you cannot export. It’s a 10-digit code linked to your PAN and costs ₹500 to apply for online.
GST Registration — Required for most exporters. Under GST, exports are zero-rated, meaning you don’t pay GST on exported goods. But you need to be registered to claim that benefit and file the necessary returns.
AD Code — Authorised Dealer Code. This is your bank’s code, registered with the customs port you’ll use for shipping. It links your bank account to your export shipments so foreign payments can be properly received and tracked.
RCMC — Registration cum Membership Certificate, issued by the relevant Export Promotion Council for your product category. Not mandatory for all exporters, but required to claim certain government benefits and schemes.

You can read our detailed guide on: “How to Get IEC Code in India: Step-by-Step Guide”
Step 3: How to Find Foreign Buyers for Export from India
Once your registrations are in order, the next task is finding someone who wants to buy what you’re selling. Knowing how to find foreign buyers from India is one of the most common questions new exporters have — and there’s no single answer.
Online platforms like IndiaMART and Alibaba allow you to list your products and receive inquiries from buyers worldwide. These are the most common starting points for new exporters.
Trade fairs — both in India and abroad — put you in direct contact with international buyers. Events like India International Trade Fair or sector-specific fairs organised by Export Promotion Councils are worth exploring.
Cold outreach — directly emailing or messaging potential buyers through LinkedIn, trade directories, or country-specific business databases. Takes more effort but can produce better-quality leads.
Finding a buyer takes time. Most new exporters spend several months on this before receiving their first serious inquiry.
Step 4: Agree on Price, Payment Terms, and Incoterms
Before any goods move, both sides need to agree on the basics. Skipping this leads to confusion and disputes later.
Product price — what you’re charging per unit, per kilogram, or per carton. This needs to account for your production cost, export expenses, and profit margin.
Payment method — how and when you’ll get paid. Common methods include Advance Payment (safest for you), Letter of Credit (secure but involves your bank), and Documents Against Payment. Each has different risk levels.
Incoterms — internationally recognised terms that define who is responsible for freight, insurance, and customs at each stage. The three most common for Indian exporters are:
- FOB (Free On Board) — your responsibility ends once goods are loaded onto the ship at the Indian port
- CIF (Cost, Insurance, Freight) — you cover freight and insurance up to the destination port
- EXW (Ex Works) — buyer takes responsibility from your factory or warehouse door
Delivery timeline — when the buyer needs the goods, and how much time you need to prepare and ship.
All of this is typically documented in a Proforma Invoice — a formal pre-shipment quote that both sides agree on before the actual order is placed.
Step 5: Receive the Purchase Order and Prepare Your Goods
Once the buyer agrees to your Proforma Invoice, they send a Purchase Order (PO) — a formal document confirming they want to buy, at the agreed price and quantity.
This is when production or sourcing begins.
If you manufacture the product, you start production based on the PO quantity. If you’re a trader, you procure from your supplier. Either way, this is also the time to ensure quality is checked before packing.
Export packaging is different from domestic packaging. It needs to be stronger, labelled correctly with the buyer’s address, country of origin, and any product-specific requirements. Some countries have strict labelling regulations — check them for your destination market before packing.
Step 6: Prepare Your Export Documents
This is where most beginners feel overwhelmed. But the export documents required in India follow a standard set for most shipments — and once you’ve done it a few times, it becomes routine.
Here are the key documents you’ll need:
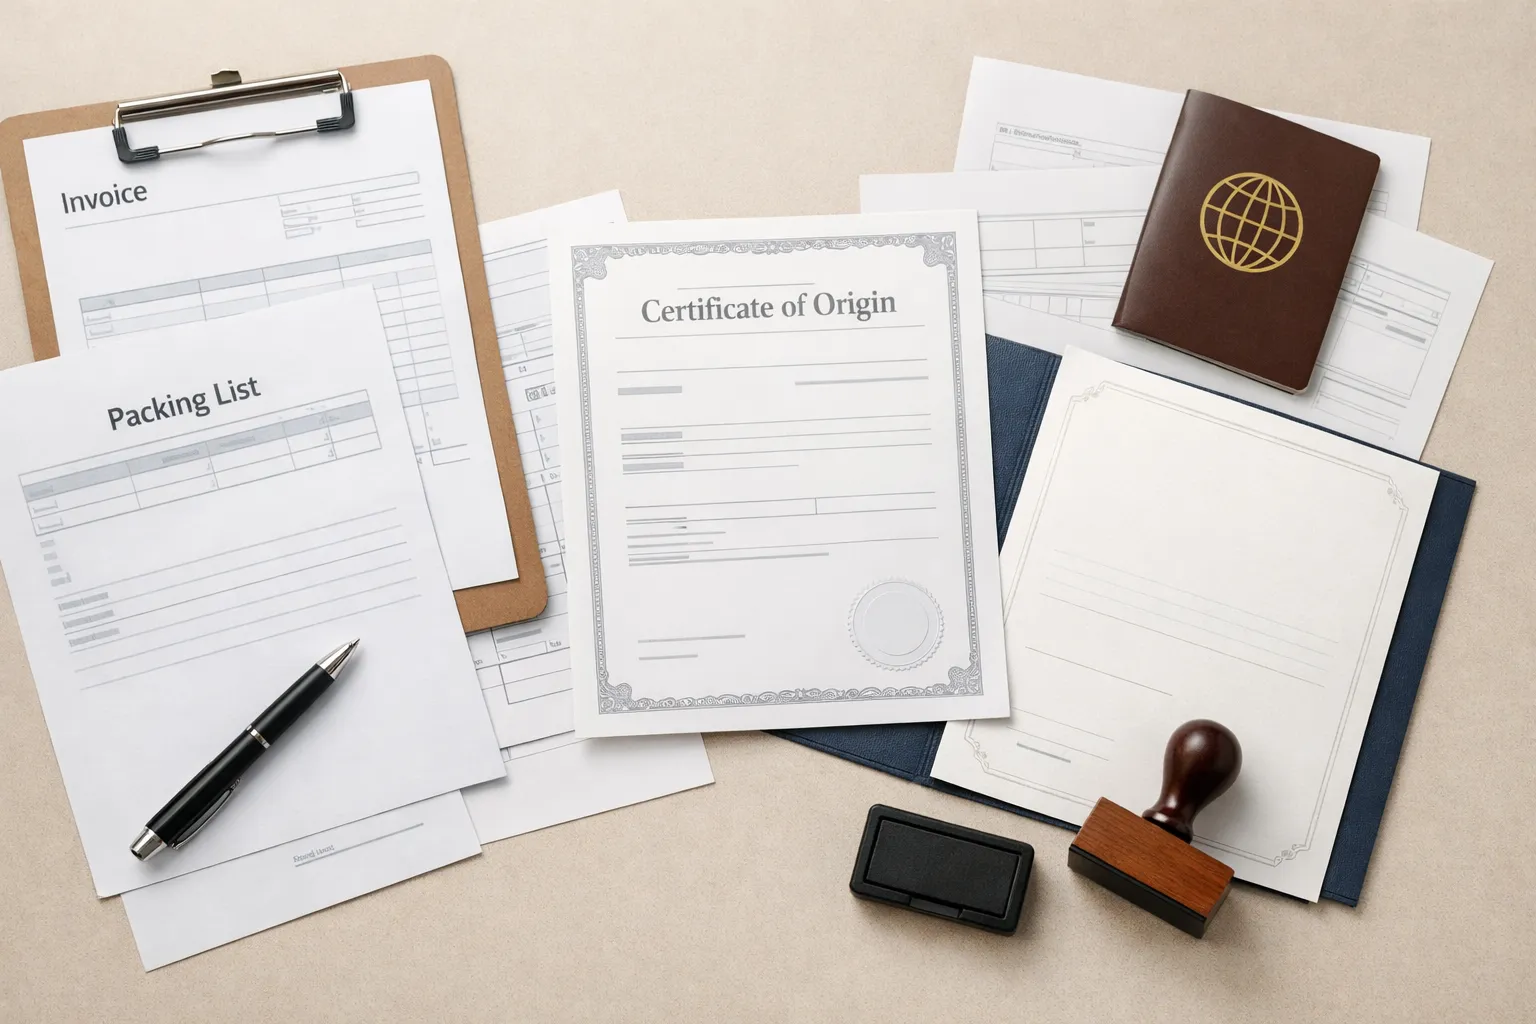
Commercial Invoice — the main billing document. It states what you’re selling, the quantity, price, and payment terms. Customs uses this to assess duties.
Packing List — details the contents of each box or carton: weight, dimensions, number of packages. Required by customs and the shipping line.
Shipping Bill — the key customs export document in India. Filed on ICEGATE (India’s customs portal) before your goods can be cleared for export.
Bill of Lading (sea) or Airway Bill (air) — issued by the shipping line or airline. It’s your proof that the goods have been handed over for shipment. Also serves as a title document for the goods in transit.
Certificate of Origin — confirms that your goods were made in India. Required by certain countries to apply preferential duty rates under trade agreements.

You can read our detailed guide on: “Complete List of Export Documents (With Simple Explanations)”
Step 7: Book Freight and Clear Customs for Export
Once your goods are packed and documents are ready, the shipment needs to move. This is where customs clearance for export in India happens — and it’s more structured than most beginners expect.
Most exporters — especially at the beginning — work with a freight forwarder or CHA (Customs House Agent). A freight forwarder handles the logistics: booking space on a ship or flight, arranging pickup, and coordinating with the port. A CHA handles the customs paperwork on your behalf at the port.
The Shipping Bill is filed on ICEGATE. Customs may physically inspect your goods or clear them based on documents alone — this depends on your product and risk profile.
Once customs is satisfied, they issue a Let Export Order (LEO) — the official clearance for your goods to leave India. Without LEO, nothing moves.

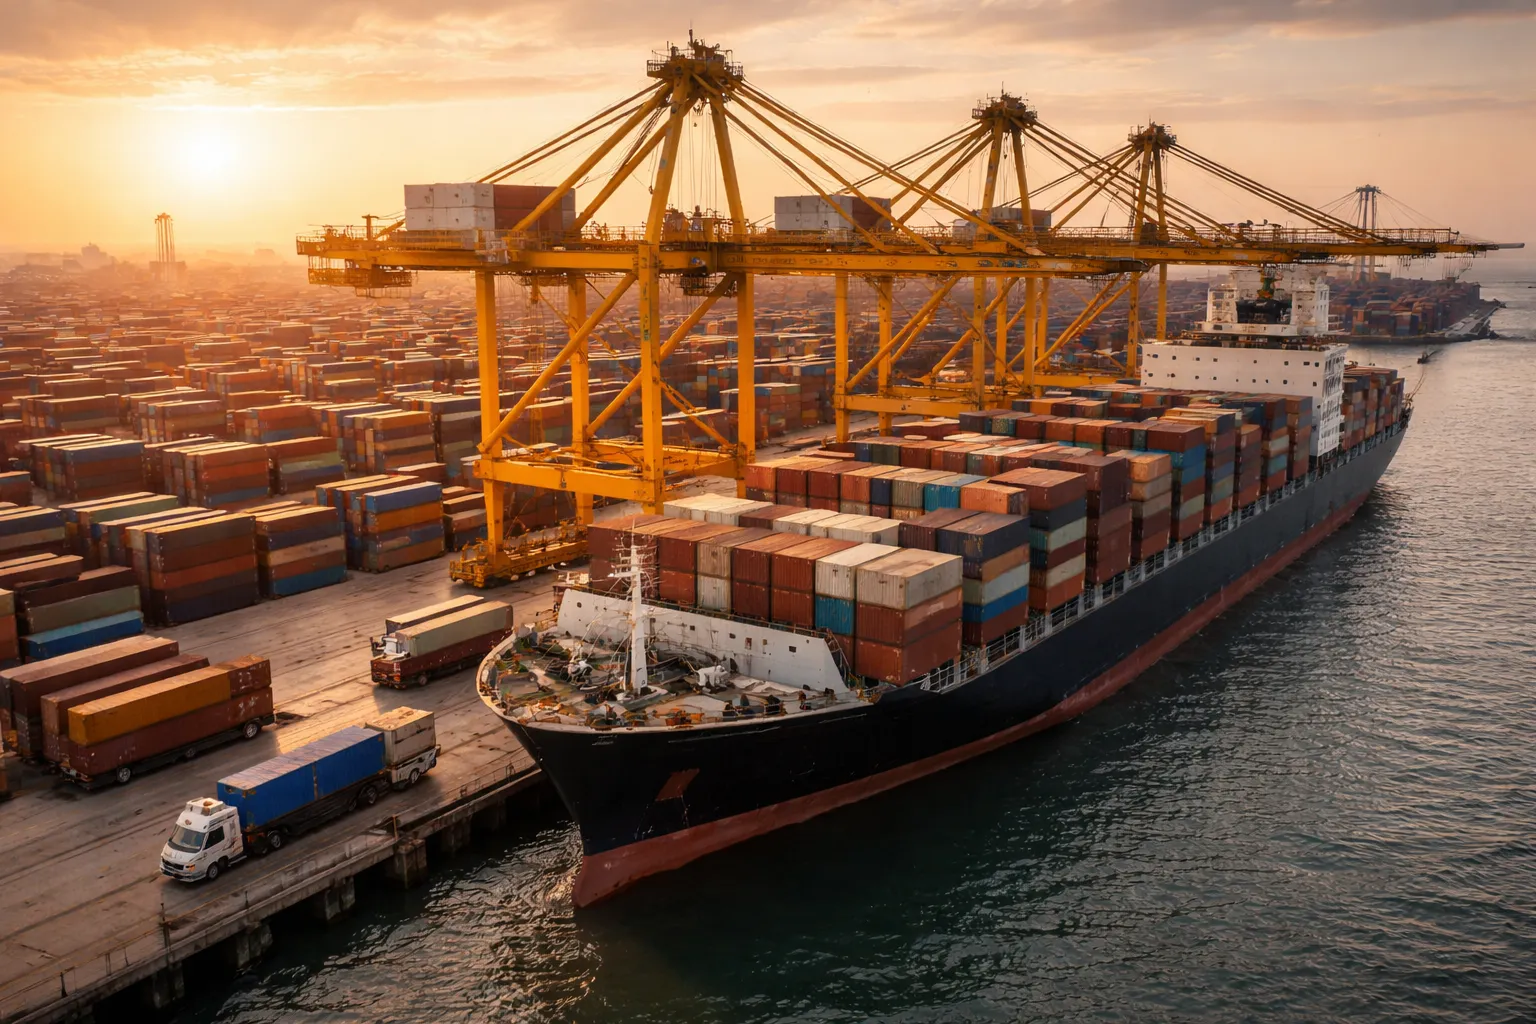
Step 8: Track Your Shipment in Transit
Once the LEO is issued and goods are loaded, your shipment is on its way.
The Bill of Lading is the most important document at this stage. It confirms the goods are on board and is often required by the buyer’s bank to release payment in LC transactions.
Transit times vary significantly:
- Sea freight to the Middle East: 5–10 days
- Sea freight to Europe or the US: 20–35 days
- Air freight to most destinations: 2–5 days
You can track your shipment using the container number or Airway Bill number through the shipping line’s or airline’s online portal.
Step 9: Goods Delivered and Payment Received
When the goods arrive at the destination port, the buyer clears customs on their side and takes delivery.
What happens next depends on your payment terms.
If you agreed on Advance Payment, you already have the money — this step is just confirmation that the goods arrived safely.
If you’re working with a Letter of Credit (LC), your bank and the buyer’s bank are involved. Once you submit the correct shipment documents to your bank, the buyer’s bank releases payment to yours. It’s more secure but involves careful document matching.
Once payment is cleared, the foreign currency arrives in your current account — usually in USD, AED, EUR, or whatever currency was agreed.
Step 10: Complete Post-Shipment Compliance — FIRC, GST, Duty Drawback
The shipment is done. Payment is in. But there are a few things to wrap up on the compliance side.
FIRC — Foreign Inward Remittance Certificate. Your bank issues this as proof that you received foreign currency against an export. Keep it — it’s important for GST refund claims and other compliance purposes.
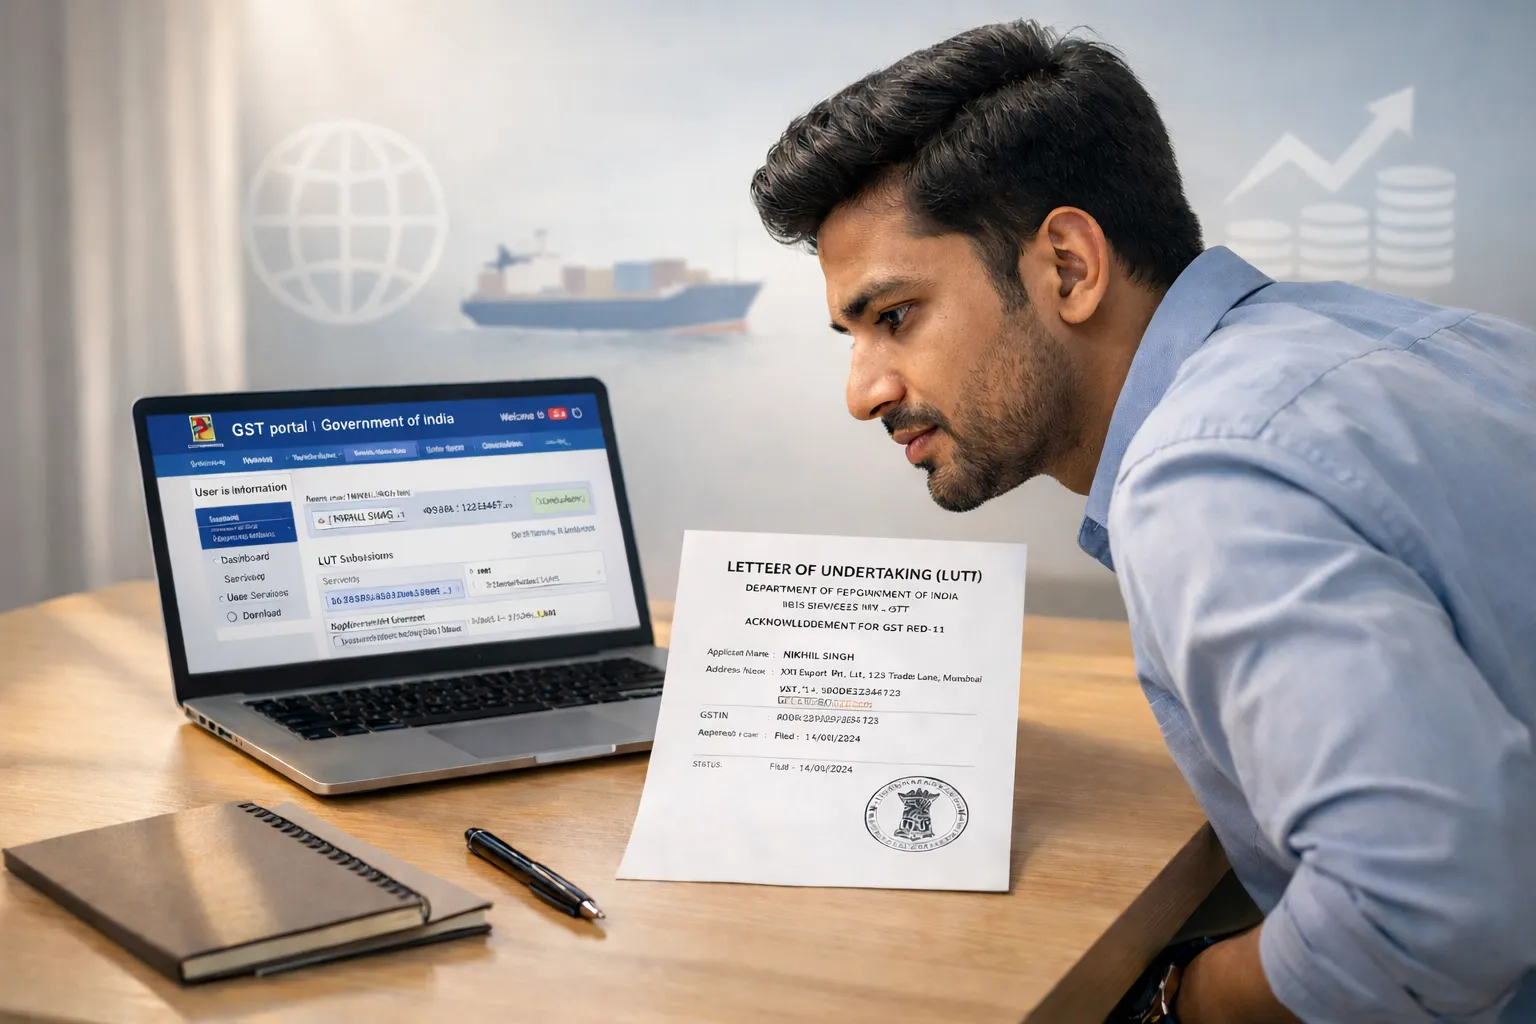
GST Refund or LUT. If you exported under a Letter of Undertaking (LUT), you didn’t pay GST on the shipment and don’t need a refund. If you paid IGST on the exported goods, you can claim a refund through the GST portal.
Duty Drawback. If you paid customs duty on any imported inputs used in your exported product, you can claim a portion of that back from the government. Not applicable to everyone, but worth checking for your product category.

None of this post-shipment work is as complicated as it sounds. It’s mostly a checklist you follow after every shipment — and it gets faster each time.
Conclusion
Now you have the full export process mapped out — from deciding what to sell all the way through to receiving payment and completing compliance.
The export process in India follows a fixed sequence. You don’t need to master all ten steps before you start. You just need to know what comes next at each stage and prepare for it in time.
The first shipment will feel unfamiliar. The second will start clicking. By the third, most of it becomes a system you follow without thinking too hard.
Key Takeaways
- The complete export process in India follows 10 steps — from product selection to post-shipment compliance. Knowing the full flow before you start prevents a lot of confusion.
- Four registrations form the legal foundation: IEC Code, GST, AD Code, and RCMC where applicable. These must be in place before your first shipment.
- The export documents required in India for most shipments are fixed: Commercial Invoice, Packing List, Shipping Bill, and Bill of Lading or Airway Bill.
- Customs clearance for export in India happens through ICEGATE, and the Let Export Order (LEO) is the official clearance that allows your goods to leave the country.
- Post-shipment compliance — FIRC, GST refund, and Duty Drawback — is mandatory paperwork after every shipment. It’s manageable once you know the steps.
Frequently Asked Questions
Q1: How long does the full export process take from order to payment?
It depends on your shipping method and payment terms — there’s no single answer.
Rough timelines to plan around:
- Sea freight + advance payment — 30 to 60 days end to end
- Sea freight + Letter of Credit to Europe or US — 60 to 90 days
- Air freight — faster transit time, but significantly higher freight cost
One thing most beginners don’t expect: the longest wait in the whole process is rarely the shipping itself. It’s the time spent finding the right buyer and getting them to place a confirmed order.
Q2: Do I need a freight forwarder or can I handle shipping myself?
For your first few shipments, work with a freight forwarder or CHA rather than trying to manage it yourself.
They understand port procedures, know exactly which documents are required, and can avoid the small errors that cause customs delays. A held shipment at customs doesn’t just cost time — it can cost money and damage your relationship with the buyer.
As you gain experience and understand the process better, you can take on more of it directly. But starting with proper support is the smarter move.
Q3: What is the most difficult part of the export process for beginners?
Finding the first genuine buyer — and it’s not even close.
Registrations follow a clear process. Documents are learnable with guidance. Logistics can be handled by a freight forwarder or CHA. But finding a real buyer who actually places a paid order requires consistent effort, the right platforms, good communication, and time. There is no shortcut here.
The second most common challenge is getting documentation right for customs clearance. Both get easier with experience — but go in prepared for both from the start.
Q4: What is a Shipping Bill and where is it filed in India?
A Shipping Bill is India’s primary customs export document. It is your official declaration to Indian customs — stating what you are exporting, the quantity, value, and destination country.
It is filed electronically on ICEGATE — the Indian Customs EDI Gateway managed by the Central Board of Indirect Taxes and Customs (CBIC).
Once customs reviews and approves the Shipping Bill, they issue the Let Export Order (LEO) — the official clearance that allows your goods to physically leave India. Without LEO, your shipment cannot move.
Q5: What is the difference between a freight forwarder and a CHA?
They often work together on the same shipment — but they handle completely different parts of the process.
A freight forwarder manages the logistics side. They book cargo space on ships or flights, coordinate pickup from your location, handle delivery to the port, and oversee the physical movement of your goods from origin to destination.
A CHA — Customs House Agent — is a licensed professional who manages the customs paperwork. They file the Shipping Bill on ICEGATE, coordinate with customs officers, and ensure your cargo is cleared for export.
Some service providers offer both under one roof. But knowing who does what helps you ask the right questions and avoid confusion when something needs to be resolved quickly.