Getting an IEC Code is easier than most people think. The confusion comes from not knowing the exact steps and documents needed before you start — which makes the whole thing feel more complicated than it actually is.
I applied for my IEC Code myself without any agent or CA. Once I understood how to get IEC Code in India and had all my documents ready, it took me about 20 minutes. No middleman needed. No expensive service fees.
This article walks you through every step on the DGFT portal — from opening the website to receiving your IEC Certificate. By the end, you’ll know exactly what to prepare and exactly what to do.
Documents Required for IEC Code Application in India
Don’t start the application without having these ready. Gathering them midway breaks your flow and increases the chance of errors.
Documents needed:
- PAN Card of the applicant or business
- Aadhaar Card of the applicant
- Cancelled cheque or bank certificate of your current account
- Bank account number and IFSC code
- Business address proof (if registering under a company or firm)
- Digital photograph of the applicant
- Active mobile number and email ID linked to your PAN

A few important notes:
If you are a sole proprietor, your personal PAN is used — there is no separate business PAN for a proprietorship.
If you are registering under a company or LLP, use the company’s PAN — not your personal PAN.
Your Aadhaar must be linked to an active mobile number — the OTP for verification is sent to that number during the application. If your Aadhaar is not linked to a working mobile number, sort that first at your nearest Aadhaar centre before starting.
DSC — Digital Signature Certificate — is required for companies and LLPs. Sole proprietors can use the simpler Aadhaar OTP route instead.
Step 1: Visit the Official DGFT Portal — dgft.gov.in
Open your browser and go to: dgft.gov.in
This is the only official portal for IEC registration. Always use this — not third-party websites that offer to “get your IEC done” for ₹1,500 or more. The government fee is ₹500. Third-party sites charge extra for a process you can complete yourself in 20 minutes.
On the DGFT homepage, you’ll see a top navigation menu with a Services option. That’s where the IEC application lives — but first you need to log in.

Step 2: Register or Login to DGFT
If you’re new to the DGFT portal, you need to create an account before applying.
Click on Login in the top right corner. Then click Register as New User.
Fill in your basic details:
- Full name
- Email address
- Mobile number
Verify both your email and mobile number using the OTPs sent to each.
Once verified, your account is created. Log in with the credentials you just set up.
If you already have a DGFT account from a previous registration, simply log in directly.
Step 3: Navigate to the IEC Code Application Form
Once logged in, the IEC Code application online is accessed through:
Services → IEC → Apply for IEC
The system will automatically check whether an IEC already exists for the PAN linked to your account.
If no existing IEC is found, the application form opens and you can proceed.
If an IEC already exists for that PAN, the system will display the existing code instead of opening a new application. This is because each PAN can have only one IEC — you cannot create a second one for the same PAN.
Step 4: Fill in the IEC Code Application Form Carefully
This is the most important step — take your time and fill every field carefully. Mismatches between what you enter and what your documents show are the most common reason for delays and rejections.
The form is divided into sections:
Part A — Applicant Details Enter your business name exactly as it appears on your PAN card. Fill in your PAN number, date of incorporation or establishment, and select your business type — individual, proprietorship, private limited company, LLP, etc.
Part B — Address Details Enter your registered business address. If you have branch addresses, you can add those too. Make sure this matches the address proof you’ll be uploading.
Part C — Bank Details Enter your current account number, IFSC code, and branch name. This must match your cancelled cheque or bank certificate exactly — character by character. Even a small mismatch here will cause the application to be rejected.
Part D — Proprietor / Director / Partner Details Enter the name, PAN, Aadhaar number, and designation of the proprietor, director, or managing partner. For a sole proprietor, this is your own details.
Step 5: Upload Required Documents
After filling the form, you’ll be asked to upload supporting documents.
What to upload:
- Cancelled cheque or bank certificate — PDF or JPG
- Business address proof — if required for your entity type
- Photograph of the applicant — passport size, clear background
- Aadhaar card — for identity verification
File requirements: Most uploads have a size limit of 1–2 MB per file. Accepted formats are generally PDF and JPG.
Scan your documents clearly before uploading. Blurry, dark, or cut-off scans are one of the most common reasons applications get flagged or delayed. If you’re using a phone to scan, use a proper scanning app rather than a regular camera photo.
Step 6: Complete Aadhaar OTP Verification or DSC
Once documents are uploaded, the portal will ask you to verify your identity. There are two options:
Aadhaar OTP Verification — this is the simpler route and works for most sole proprietors and individuals. Enter your 12-digit Aadhaar number, click to request an OTP, and enter the OTP sent to your Aadhaar-linked mobile number. Verification is instant.
Digital Signature Certificate (DSC) — this is required for private limited companies and LLPs. If you are registering under a company, your authorised signatory’s DSC needs to be used here. DSC is a physical USB token that you plug into your computer during the signing process.
For most first-time exporters registering as sole proprietors, the Aadhaar OTP route is the one to use.
Step 7: Pay the Application Fee
After verification, you’ll be taken to the payment screen.
Fee: ₹500
Payment is accepted via:
- Net banking
- Debit card
- Credit card
- UPI

Complete the payment. Once payment is confirmed, your application is automatically submitted to DGFT for processing.
Save your payment receipt. Download it from the confirmation screen and keep it in your records — you may need it if there are any follow-up queries about your application.
Step 8: Receive Your IEC Code Certificate
In most cases, IEC is issued instantly or within one to two working days after successful submission and payment.
You will receive your IEC Certificate on your registered email address. It’s also available to download anytime from the DGFT portal under:
Services → IEC → Print IEC
Your IEC Certificate shows:
- Your 10-digit IEC number
- Business name and address
- PAN number
- Bank account details linked to the code

Once you have your certificate, share it with your bank, your freight forwarder, and your CHA. These are the three parties who will need your IEC number regularly.
What to Do Immediately After Getting Your IEC Code
Your IEC is issued. Here’s what to do right away:
Register your AD Code with your bank. Your bank needs to link your IEC to your export transactions at the customs port. This is called AD Code registration and it’s a separate but essential step that many new exporters overlook.
Set a reminder for your annual update. Every year between April 1 and June 30, log back into the DGFT portal and confirm that your IEC details are still current. It’s free and takes five minutes — but skipping it can lead to deactivation.
Keep your IEC Certificate safe. Store a digital copy in your email and cloud storage, and keep a physical printout with your business documents.
You can read our detailed guide on: “What is AD Code? How to Register It with Your Bank”
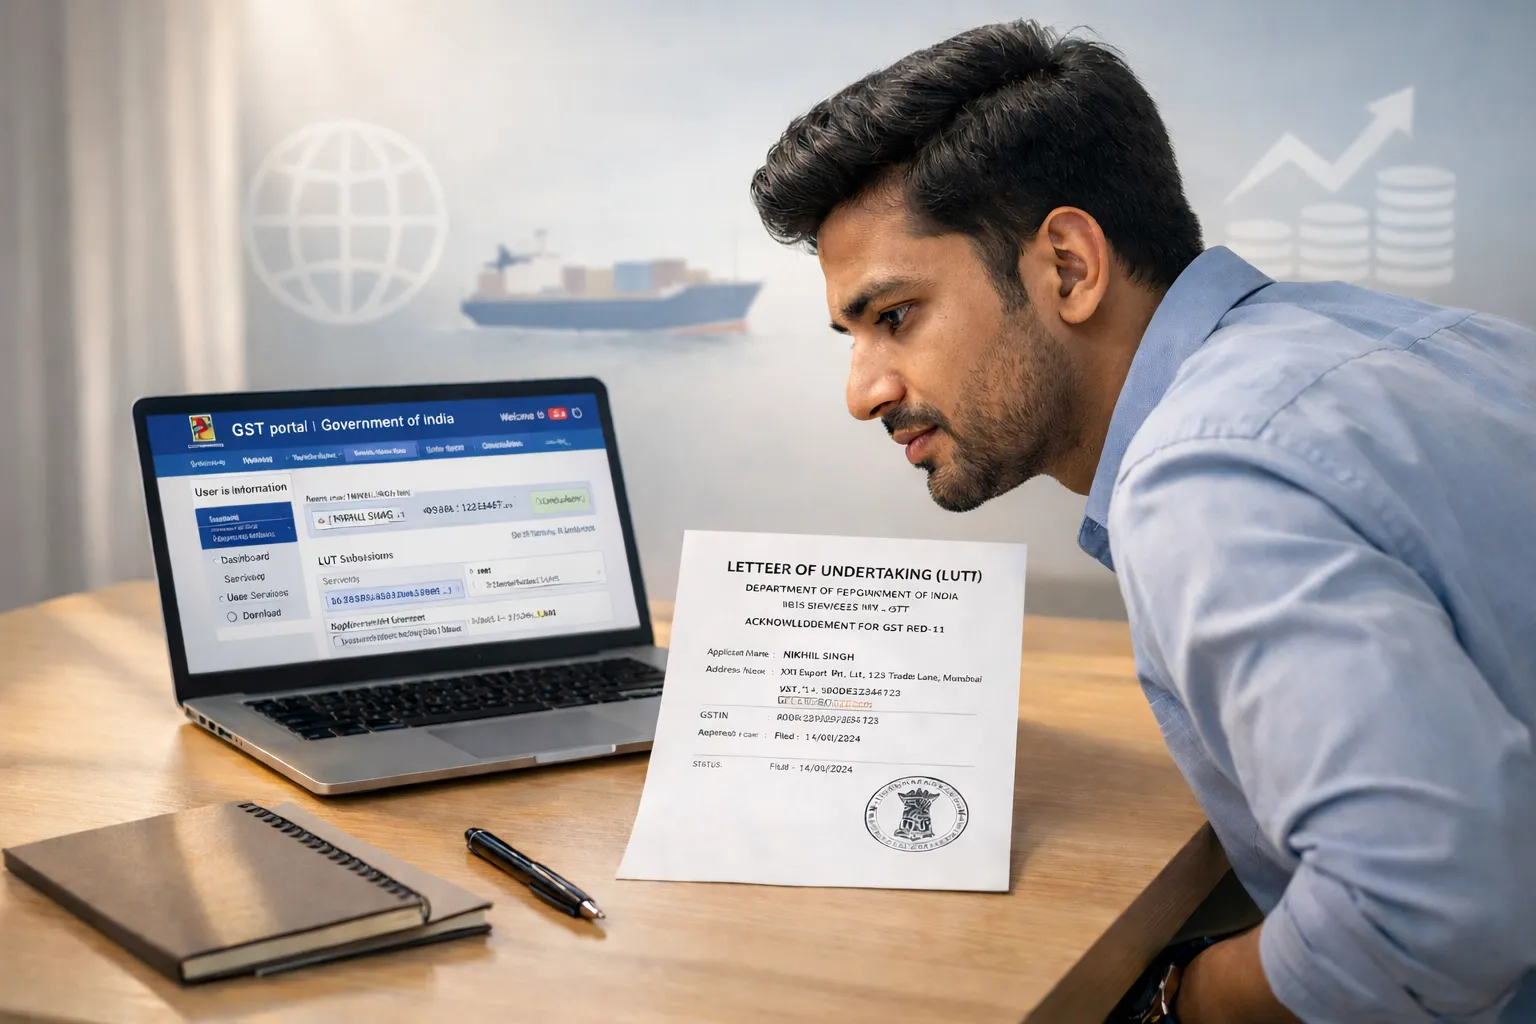
Once your IEC and AD Code are both in place, the next registration to complete is GST — specifically filing your LUT before your first shipment.
You can read our detailed guide on: “GST for Exporters: LUT, Zero Rating and Refund Explained Simply”
Common Reasons IEC Code Applications Get Rejected in India
PAN details not matching Income Tax records. The name and details you enter must match your PAN exactly as it appears in the Income Tax database. Even minor spelling differences cause mismatches.
Bank account not in the applicant’s name. The current account you link must be in the name of the individual or business applying for IEC. A joint account or a savings account in a different name will not be accepted.
Blurry or invalid document uploads. Low-quality scans are flagged during verification. Rescan clearly if your first attempt produces a poor-quality image.
Aadhaar not linked to an active mobile number. If the OTP doesn’t arrive, your Aadhaar is likely not linked to a working number. Update this at an Aadhaar centre before attempting the application again.
Address mismatch between documents and form. The address you enter in the form must match the address proof you upload. Even a difference in format — “Road” vs “Rd” — can cause a flag.
You can read our detailed guide on: “What is IEC Code? Everything a Beginner Must Know“
Conclusion
The IEC Code application is one of the simplest government registrations in India once you know the steps. The portal is clear, the fee is low, and the turnaround is fast.
The only thing that causes problems is going in unprepared — wrong documents, mismatched details, or an Aadhaar that’s not linked to a working number.
Prepare your documents first. Then follow the steps above. Most people are done in under 30 minutes.
Key Takeaways
- The entire IEC Code application is done online on the official DGFT portal at dgft.gov.in — no agent or CA needed.
- The government fee is ₹500 — paid by net banking, debit card, credit card, or UPI at the end of the application.
- Keep your PAN, Aadhaar, cancelled cheque, and business address proof ready before starting — gaps midway cause errors.
- IEC is typically issued instantly or within one to two working days after successful payment and submission.
- After receiving your IEC, immediately register your AD Code with your bank — it’s the next essential step before your first shipment.
Frequently Asked Questions
Q1: How long does it take to get IEC Code after applying online?
For most applicants with complete and correctly filled applications, IEC is issued within a few hours to one working day. In some cases it comes through instantly after payment is confirmed.
Delays happen when there is a mismatch in PAN details, a bank account verification issue, or a document quality problem. If your application is still pending after two working days, log into the DGFT portal and check your application status. If flagged, the portal usually shows the reason — correct it and resubmit.
Q2: Can I apply for IEC Code without a current account?
Technically the portal allows submission with a savings account — but it is strongly advisable to have a current account before applying.
Foreign payments received against export transactions must come into a current account. Banks are not set up to process export-related foreign remittances into personal savings accounts, and your AD Code registration — which follows IEC — requires a current account at a specific bank branch.
Open your current account first, then apply for IEC with those bank details. It saves you from having to update your IEC profile immediately after receiving it.
Q3: What should I do if my IEC application is stuck or rejected?
Log into the DGFT portal and check your application status under Services → IEC. If flagged, the portal will usually indicate the reason — PAN mismatch, document issue, bank detail error, or something similar.
Correct the specific issue and resubmit. For PAN mismatches, verify your details against your actual PAN card and Income Tax profile. For document issues, rescan and upload clearer versions.
If the issue is unclear, contact DGFT’s helpdesk through the portal’s support section or call their helpline. Keep your application reference number handy when reaching out.
Q4: Can I track the status of my IEC Code application online?
Yes — you can track your IEC application status directly on the DGFT portal.
Log in to your account at dgft.gov.in and navigate to Services → IEC. Your application status will be visible there — whether it’s under processing, approved, or flagged for a correction.
If approved, your IEC Certificate will be available to download from the same section under Print IEC. You’ll also receive an email notification on your registered email address when the IEC is issued.
Q5: Is there any difference between applying for IEC Code as an individual vs a company?
Yes — there are a few key differences in the application process.
As an individual or sole proprietor, you use your personal PAN, verify using Aadhaar OTP, and no DSC is required. The process is simpler and faster — most sole proprietors complete it in under 30 minutes.
As a company or LLP, you use the entity’s PAN instead of a personal PAN. Aadhaar OTP verification is not available for companies — you must use a Digital Signature Certificate (DSC) of the authorised signatory. You’ll also need to provide the company’s incorporation documents and the director or partner details in the application form.
Both follow the same portal and the same ₹500 fee — the difference is in the verification method and the PAN used.