When I was trying to figure out how to start an export business in India, the information was everywhere — but never in the right order. One article told me to get an IEC Code. Another told me to find buyers first. Someone else said register GST before anything. It was genuinely confusing.
So here’s what I wish I had found on day one — 10 steps, in the exact sequence they need to happen, nothing skipped, nothing unnecessary.
By the end of this, you’ll have a clear action plan. Not just an idea of what to do, but the actual order to do it in.
Step 1: Decide What You Want to Export

This is the foundation. Everything else — your target market, your registrations, your pricing, your buyer search — depends on what you’re selling. If this isn’t clear, nothing that follows will work properly.
Ask yourself three things:
Are you a manufacturer, a trader, or a sourcing agent? Manufacturers export what they produce. Traders procure from manufacturers and sell abroad. Sourcing agents connect foreign buyers with Indian suppliers. All three are valid — but your role shapes how you operate.
Is there international demand for your product? Just because something sells well in India doesn’t mean foreign buyers want it. You need to verify that real demand exists in the markets you’re targeting.
What is your product’s HS Code? Every internationally traded product has an HS Code — a classification number used by customs worldwide. You’ll need it for documents, duty calculations, and market research. Find yours before moving to the next step.
You can read our detailed guide on: “How Export Actually Works: The Full Process Explained Simply“
Step 2: Research Your Target Market
Once you know what you’re exporting, you need to know where to export it.
Not every product sells equally well in every country. Some markets have high demand but strict regulations. Some have lower competition but require certifications. Some offer better margins because the local alternatives are expensive.
A few tools worth knowing at this stage:
DGFT trade data gives you India’s export statistics by product and destination country — useful for understanding where Indian exporters are already sending similar products.
ITC Trade Map (trademap.org) shows global import-export data by product and country. It’s free to use at a basic level and gives you a picture of where the demand is.
You don’t need to do a full market study before starting. But you do need to pick a market with real demand and understand its basic requirements before investing time and money.
Step 3: Register Your Business Entity in India
You need a legally registered business entity to export from India. The good news is that you don’t need anything complicated to begin.
A sole proprietorship is the simplest structure and works perfectly for most first-time exporters. It can be set up with your PAN card, a bank account, and basic registrations. No company incorporation needed.
If you already have a registered partnership firm, LLP, or private limited company, you can use that directly.
The business structure also determines how your IEC Code and GST registration are issued — so sort this before moving to Step 4.
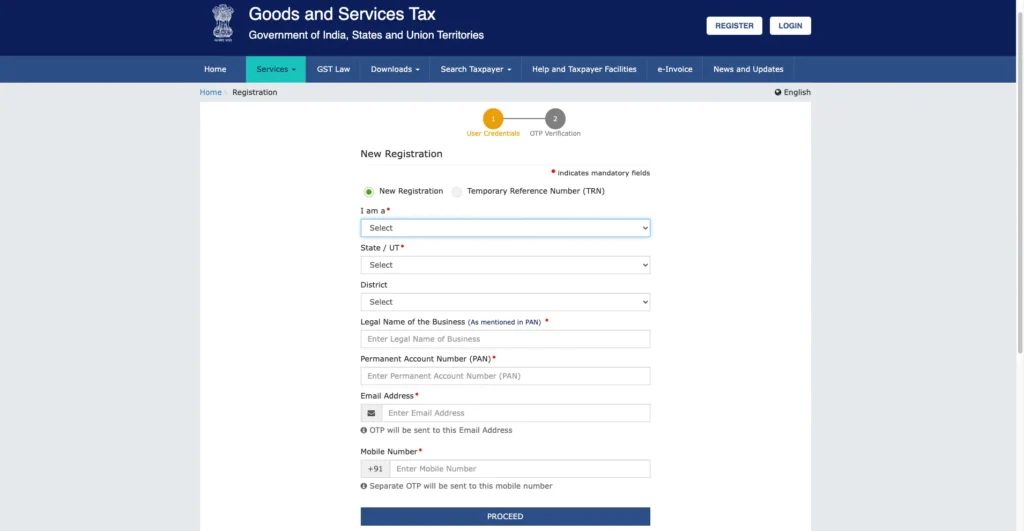
Step 4: Get Your IEC Code

This is the single most important registration for any exporter in India. Without an IEC Code, you cannot legally export — full stop.
IEC stands for Importer Exporter Code. It’s a 10-digit code issued by the DGFT (Directorate General of Foreign Trade) and linked to your PAN. The application is fully online, costs ₹500, and is typically approved within one to two working days.

One IEC Code covers all your exports and imports for life. You don’t renew it — you just update it if your business details change.
Get this done before anything else in the official registration process.
You can read our detailed guide on: “What is IEC Code? Everything a Beginner Must Know“
Step 5: GST Registration and LUT Filing for Exporters
GST registration is mandatory for most exporters. Under Indian GST law, exports are treated as zero-rated supplies — meaning you don’t charge GST on exported goods. But to operate within this framework, you need to be GST registered.
Along with registration, you need to file a LUT — Letter of Undertaking — on the GST portal before your first export shipment. Filing a LUT allows you to export without paying IGST upfront and then waiting for a refund. Without it, you’d pay GST at the time of export and claim it back later — which blocks your working capital unnecessarily.
LUT filing is free, done online, and valid for one financial year. Renew it at the start of every April.
You can read our detailed guide on: “GST for Exporters: LUT, Zero Rating and Refund Explained Simply“
Step 6: Open a Current Account and Register AD Code at Customs Port

A current account is non-negotiable for export business. Your foreign payments — in USD, AED, EUR, or any other currency — come into this account. Personal savings accounts are not meant for business transactions and will cause problems with compliance.
When opening your account, choose a bank with good forex services and a trade finance desk. HDFC, ICICI, Axis, and SBI are commonly used by exporters.
Once your account is open, you need to register your AD Code — Authorised Dealer Code — at the customs port you plan to use for your shipments. Your bank provides the AD Code letter. You submit it to the port’s customs office. This links your bank account to your export transactions in the ICEGATE system, so foreign remittances can be properly tracked against your shipments.
Don’t skip this step. You cannot file a Shipping Bill without an active AD Code registered at your port.
Step 7: Find Your Buyer

With registrations in place, the next task is finding someone who actually wants to buy from you. This is the step most people underestimate — both in terms of effort and time.
There are several practical ways to find foreign buyers for export from India:
Online B2B platforms like IndiaMART and Alibaba are the most accessible starting points. You create a product listing, and buyers send you inquiries. Quality of inquiries varies — but volume makes up for it at the beginning.
Export Promotion Councils for your product category often maintain buyer databases, organise trade fairs, and share tender notifications. Registering with the relevant council gives you access to these.
Trade fairs — both domestic and international — connect you directly with buyers. CII, FIEO, and individual EPCs organise these regularly.
Cold outreach via LinkedIn, trade directories, and direct email to importers in target countries. Slower to convert, but often produces more serious buyers than platform inquiries.
You can read our detailed guide on: “How to Find Foreign Buyers for Your Export Business in India”
Step 8: Finalise Pricing and Payment Terms
Once a buyer shows interest, you need to give them a price — and it needs to be the right one.
Export pricing is not the same as domestic pricing. Your export price must account for:
- Production or procurement cost
- Packaging and labelling for export
- Freight and insurance costs
- Your profit margin
- Any applicable duties or certifications
Price too high and you lose the buyer. Price too low and you lose money. Getting this right takes research into what competitors are charging and what the market will bear.
Along with price, you agree on Incoterms — the international terms that define who pays for freight and insurance and at which point responsibility transfers from you to the buyer. The most common for Indian exporters are FOB (you’re responsible up to the ship at the Indian port), CIF (you cover freight and insurance to destination port), and EXW (buyer takes responsibility from your door).
You also agree on the payment method — Advance Payment, Letter of Credit, or Documents Against Payment. For your first few shipments, try to negotiate at least partial advance payment to protect yourself.
Step 9: Prepare Your Export Documents

Once the order is confirmed, every shipment requires a core set of documents. Getting these right is critical — errors can hold your shipment at customs.
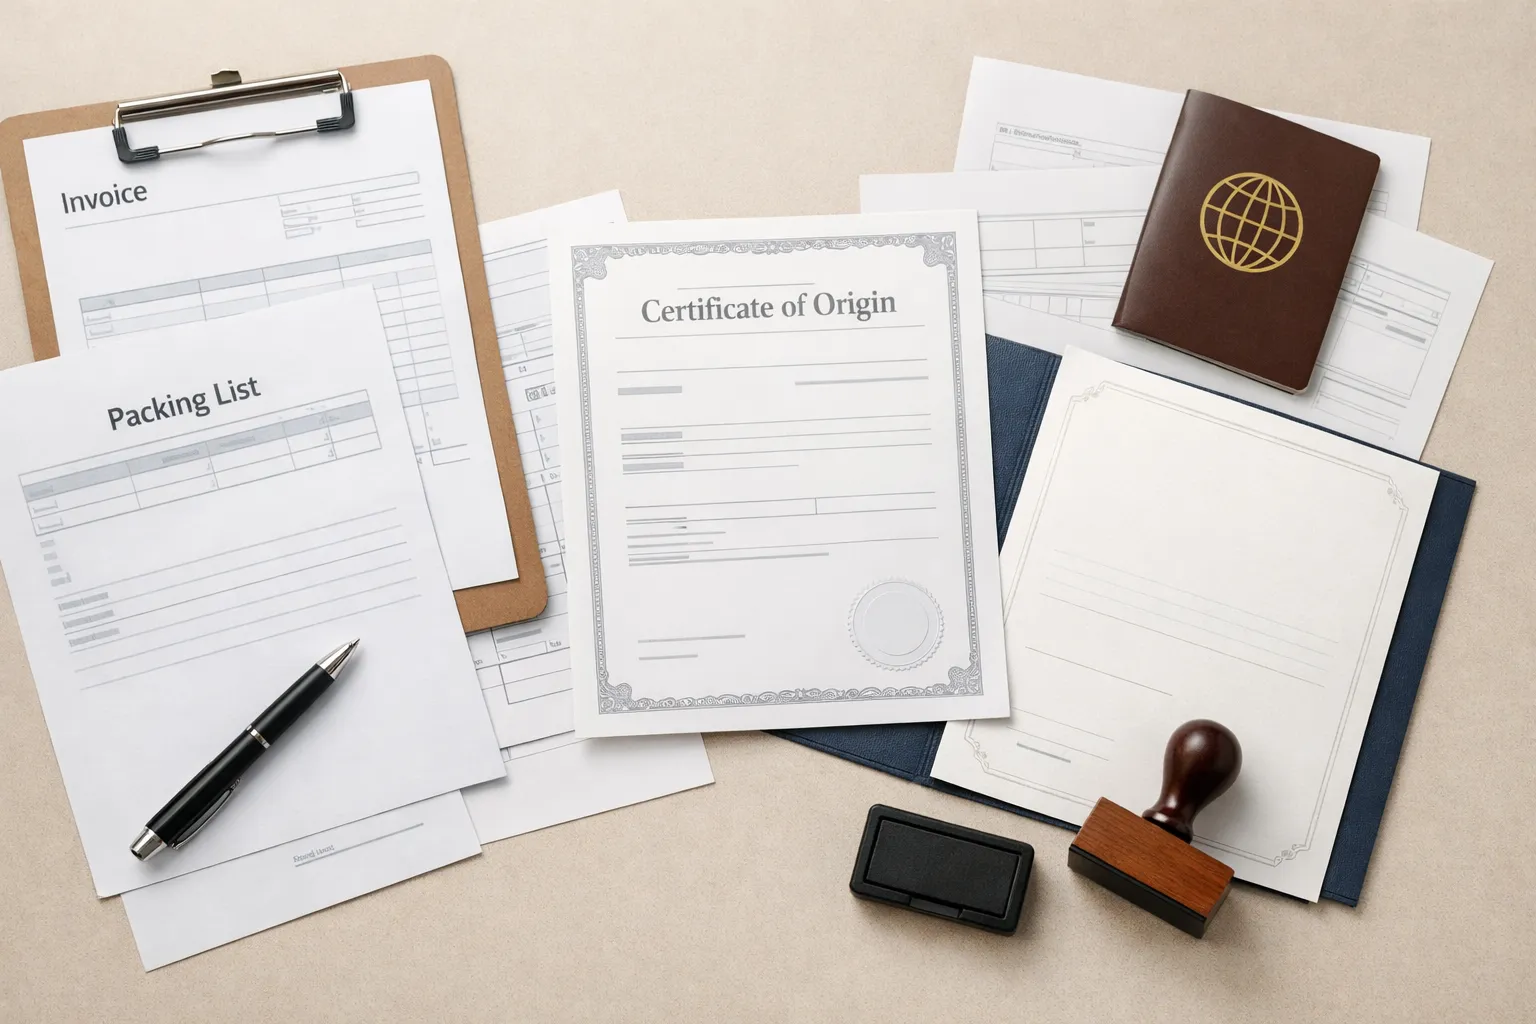
Here are the documents required for most export shipments from India:
Commercial Invoice — the main billing document showing product details, quantity, price, and payment terms. Used by customs to assess duties.
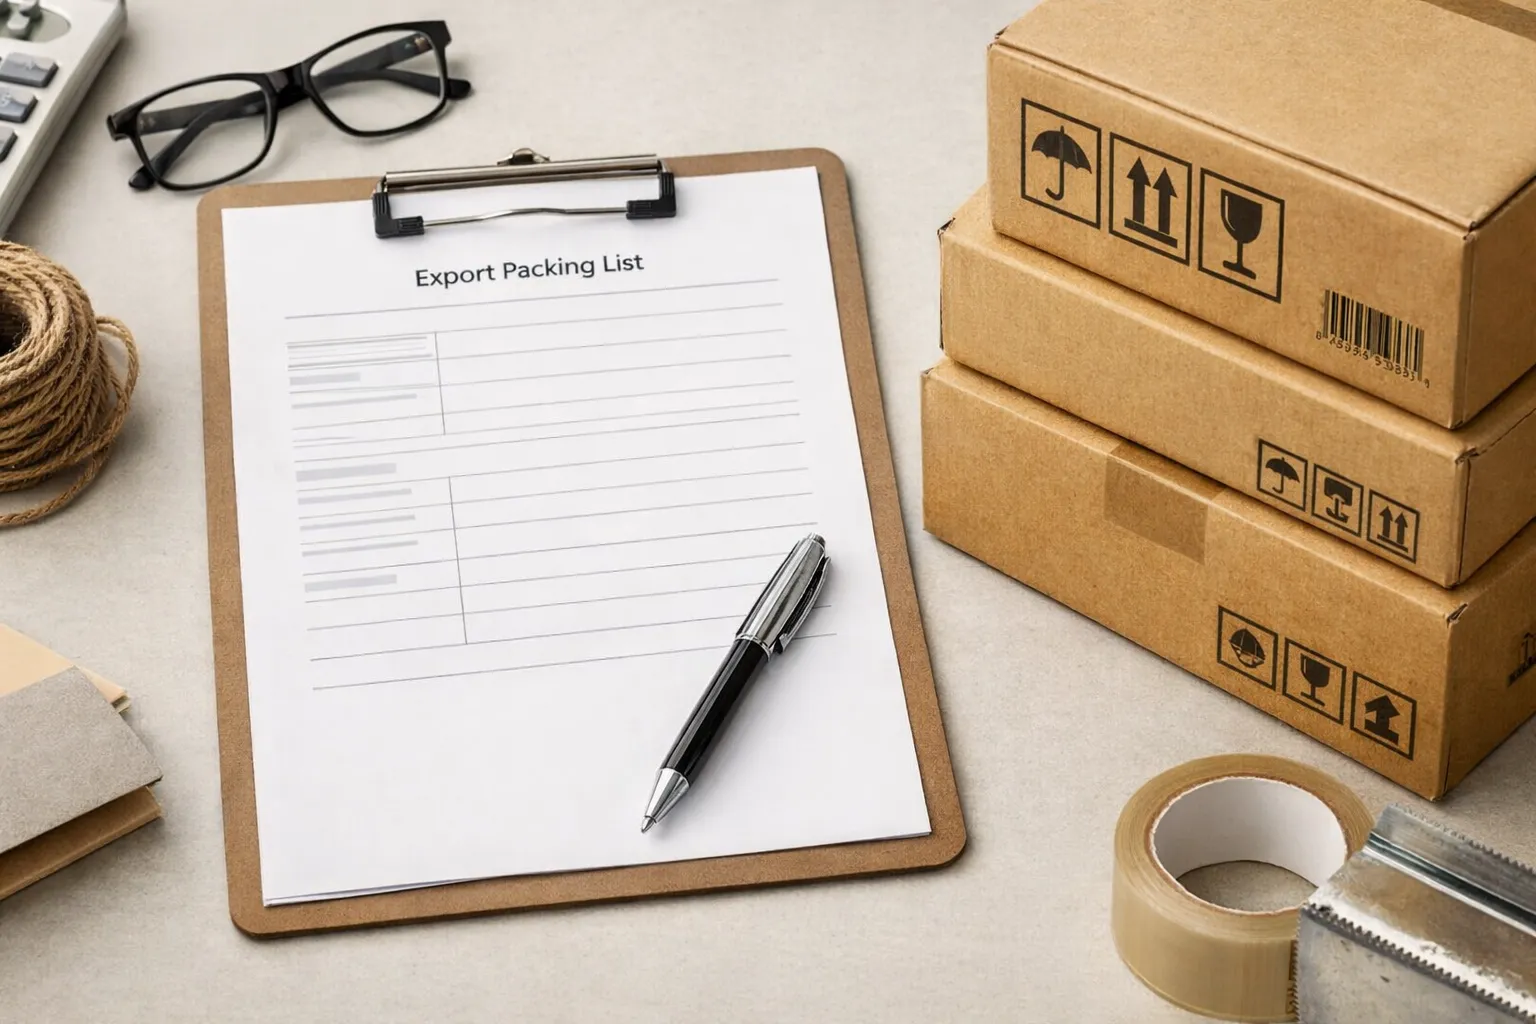
Packing List — details the contents, weight, and dimensions of every box or carton in the shipment.
Shipping Bill — India’s primary customs export document, filed on ICEGATE before the goods can be cleared to leave the country.
Bill of Lading (sea freight) or Airway Bill (air freight) — issued by the shipping line or airline as proof that goods have been received for shipment.
Certificate of Origin — confirms the goods were manufactured in India. Required by certain countries under trade agreements to apply reduced import duties.
Prepare these carefully. A mismatch between documents — for example, a quantity on the invoice that doesn’t match the packing list — can cause delays at customs.
Step 10: Ship, Track, and Receive Payment
Hand over your shipment to a freight forwarder or CHA (Customs House Agent). They’ll file the Shipping Bill on ICEGATE, coordinate with the port, and ensure customs clearance happens smoothly. Once customs approves the Shipping Bill, the Let Export Order (LEO) is issued — and your goods are cleared to leave India.
Track your shipment using the container number or Airway Bill number on the shipping line’s or airline’s portal. Share tracking details with your buyer so they can plan for arrival.
When the buyer receives the goods, payment is released based on your agreed terms. The foreign currency arrives in your current account.
After payment, complete your post-shipment compliance:
- Collect the FIRC (Foreign Inward Remittance Certificate) from your bank as proof of receiving foreign payment
- File for GST refund if applicable, or confirm your LUT filing is in order
- Check if your product qualifies for Duty Drawback — a government refund on duties paid for imported inputs used in your exported goods
What Happens After Your First Export Shipment?
Your first shipment will not be perfect. Something will take longer than expected, a document will need a correction, or communication with the buyer will get delayed at some point. That’s normal.
What matters is that you note what went well and what didn’t. Export is a repeatable process — and the habits you build around documentation, communication, and compliance in the early shipments will save you significant time and money later.
Most exporters say the second shipment is noticeably smoother than the first. By the fifth, it starts feeling like a system.
Keep going.
Key Takeaways
- Start with a clear product and a verified market — without these two things, the remaining steps have no direction.
- IEC Code is the first and most critical legal requirement for starting an export business in India. Everything else follows from it.
- GST registration and LUT filing must be done before your first shipment to avoid blocking working capital unnecessarily.
- AD Code registration at your customs port is a step many beginners miss — and without it, you cannot file a Shipping Bill.
- Export is a repeatable process. The first shipment is a learning experience. Build your documentation habits early and each shipment gets smoother.
Frequently Asked Questions
Q1: How long does it take to complete all registrations and be ready to export?
Two to three weeks if you move quickly — here’s how the timeline breaks down:
- IEC Code — 1 to 2 working days after online application
- GST Registration — 7 to 10 working days in most cases
- AD Code at port — a few days after your bank provides the letter
- LUT filing — immediate once your GST registration is active
GST is the bottleneck in almost every case. Start that process first and apply for your IEC Code at the same time so both run in parallel.
Q2: Can I start an export business without a factory or manufacturing unit?
Yes — and a large number of Indian exporters operate exactly this way.
You don’t need to manufacture anything. Traders who source products from manufacturers or local markets and sell them to foreign buyers are a completely legitimate and common part of the export ecosystem.
What you actually need is a reliable source of supply, consistent quality, and the ability to deliver on time. How the product reaches you is secondary. That it reaches you reliably every single time is what matters.
Q3: Which is the most important step that beginners usually skip?
Market research — and it’s not a close call.
Most beginners go from having a product straight to searching for any buyer in any country. They skip the step of finding out which specific countries have real import demand for their product, what regulations apply in those markets, and what established competitors are already charging.
The result is months spent approaching the wrong markets at the wrong price point. Even spending two to three days on basic trade data research using DGFT data or ITC Trade Map makes every step that follows more focused and more effective.
Q4: Do I need RCMC to start exporting from India?
Not for your first shipment — RCMC is not a day-one requirement.
You can legally export with just your IEC Code, GST registration, and AD Code registered at your port. That’s enough to get your first shipment out.
RCMC becomes relevant when you want to claim benefits under government export promotion schemes, access buyer databases maintained by Export Promotion Councils, or participate in government-supported trade fairs and delegations. It’s issued by the Export Promotion Council for your specific product category.
Most serious exporters get it done within their first few months. Worth having — just not something that should block you from starting.
Q5: What is AD Code and why is it required for export?
AD Code stands for Authorised Dealer Code — a 14-digit code assigned to your specific bank branch by the Reserve Bank of India.
When you register this code at the customs port you plan to use for your shipments, it creates a direct link between your bank account and your export transactions in the ICEGATE system. This allows Indian customs and the RBI to verify that foreign currency payments received in your account are properly matched against actual export shipments leaving the country.
Without an AD Code registered at your port, you cannot file a Shipping Bill — which means your goods cannot be cleared for export. It is a one-time registration per port, and your bank will issue the AD Code letter when you formally request it.